Tutorial - SWAPs Bag
UPDATE February, 2023: I wanted to follow my tutorial below to make a swaps bag and actually found the instructions confusing!
So.
I've created a new tutorial.
Link here: Tutorial Revisited 2023
Thanks!
So.
I've created a new tutorial.
Link here: Tutorial Revisited 2023
Thanks!
Here is a tutorial for a SWAPs bag.

I am sure there are many different ways to make a SWAPs bag but this is similar to the one I made for myself and when the girls travelling to Our Cabana in Mexico wanted one, I offered to help them.
 |
| My SWAPs bag. |
I made one for Laura, just winging it looking at mine.
 |
| Laura's SWAPS bag. |
Then I started to help Zara.
And then I started to help Aqsa and thought I should document the process for a tutorial but forgot to take photos of the size, etc.
Then I started to help Julia and we took photos!!
So here we go.
First we cut the bottom of a Girl Guide uniform skirt approximately 21" high along the hem and then approximately 19" wide.
No exact science to the measurements - it depends on what size you want your bag to be.

Because we used the hem, we folded the other 21" edge under about 1/2" and pinned it down as shown in the picture.
It is about 9.5" wide now.
If you don't have the hem, then put right sides together and sew this seam, then turn the fabric right side out.
Next we cut a piece about 15" by 9.5".

Here we are sewing the first 21" piece.

Here we zig-zagged the raw edges together at the opposite ends of the 21" piece.

We also folded the 15" piece in half so that it was 7.5" by 9.5" and we zig-zagged the one 9.5" side together.
Here is Aqsa zig-zagging her floral fabric.

The zipper.
The zipper is attached to one of the rough edges of the large piece and to the 9.5" zig-zagged edge of the smaller piece.
Scroll down through the photos here so you can get an idea of where it will be and how you will need to sew it.
We didn't get photos of all the steps for this.
Here is Aqsa sewing one side of her zipper into place.

Here is Julia's zipper - sewn onto the large piece only.

Here is Julia's zipper - sewn onto both pieces.

It's okay that the zipper is long - it's not metal so we'll be cutting it later.
Oh, then we top-stitched the zipper.
We almost forgot to do that on Julia's!
At this point, you need to scroll down and look at the photos and play with your pieces so you know how the final bag will be put together.
And think about anything you want to sew to any parts.
You'll want to add embellishments now before you sew too many more seams.
We are adding epaulets from a Girl Guide uniform top to hold pins!
We placed a pin approximately where this piece of the bag will be folded once it's all completed, because we didn't want the epaulets to fold (red pin in centre).
We also placed a pin near the zipper so we wouldn't sew the epaulets too close to the zipper (yellow pin near top).
We pinned them into place onto the small piece.

And we sewed them with the classic X pattern in a square that you see on tote bags, etc.
(see photo below)
Then we sewed Girl Guide buttons into place to hold the epaulets down.

Zara wanted this Canada patch on the outside of her bag.

She decided where she wanted it and we opened up the bag and sewed it into place.
You must be sure to add embellishments like this now, so you don't sew your pocket closed!
Julia chose this Canada crest patch and sewed hers into place.

Now we folded under a small hem on the other end of the large piece (not where the zipper is - the other end).

And we sewed that.
For our next step,
we used this type of snaps just so that we could use a hammer and a wooden spool to attach them!


Fun!
You may choose to put a different closure here, or none at all.
Buttons would work, or velcro, or hand sewn snaps.

Aqsa chose buttons so here she is making button holes.
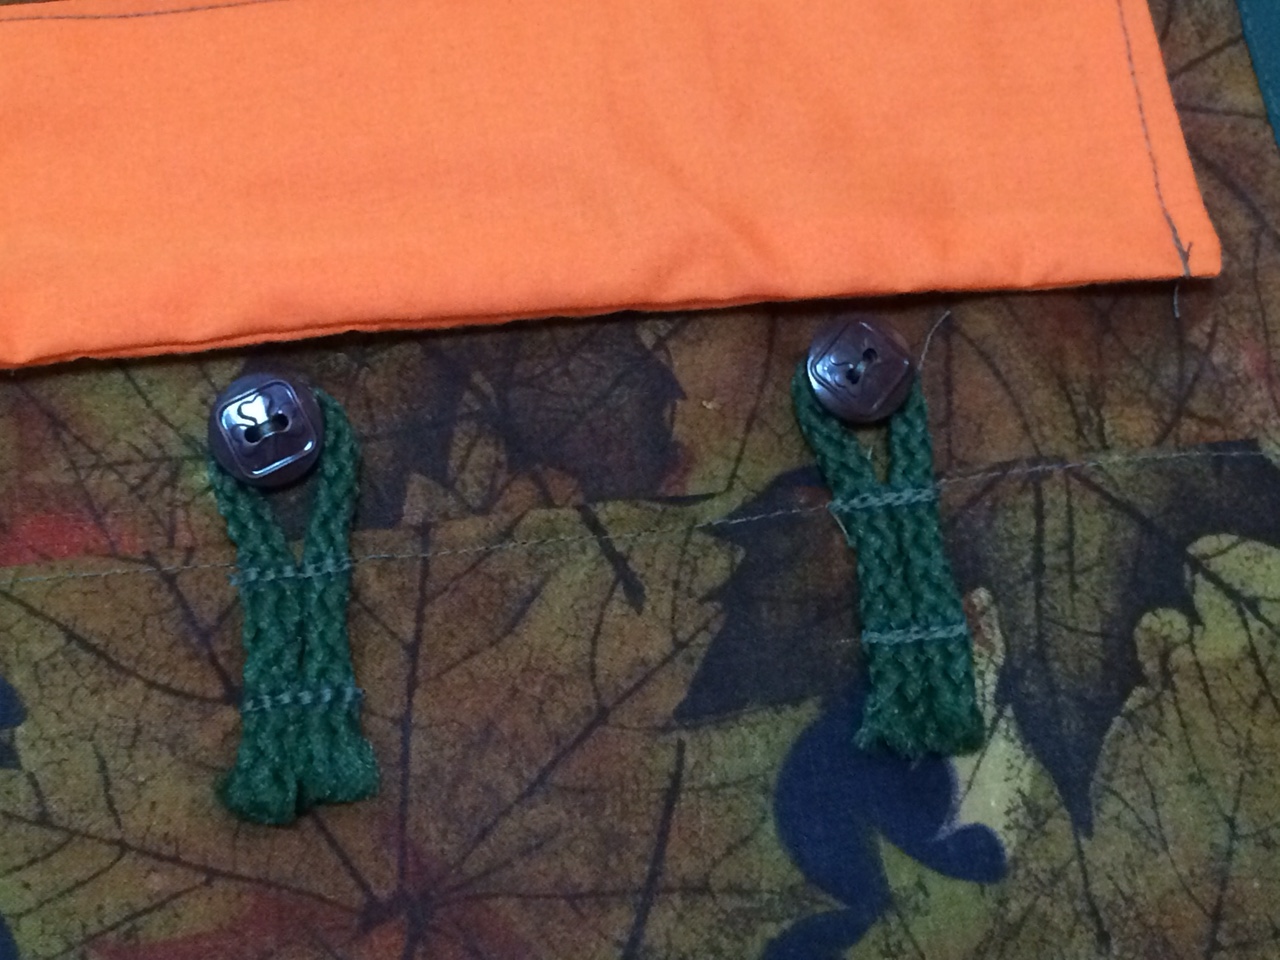
Emily chose buttons too, and designed this cool closure.
So, where on the bag are we doing this?
The epaulets are attached to the zipper pocket, and the long piece of fabric is folded up to where the blue pin is - and we then marked where the snaps would go.
The "tops" go on to the edge you just hemmed.
And the "bottoms" go just under the epaulets.
Be SURE to only put the "bottoms" through one layer of fabric.
~ ~ ~ ~ ~ ~
Now, on to the next step.
We next closed the pocket with the zipper.
We pinned the bottom of the pocket, just below the "bottoms" of the snaps, to the main bag.

Then we sewed it close to the edge.
In the photo below, you can see the part that was sewn down.
Next we are adding velcro to the top and bottom of the bag.

Here it is pinned into place.
We had to cut the part near the zipper into a slimmer piece of velcro to get it to fit where we wanted it.
Sewing the velcro.

Julia sewing the velcro near the zipper.

Still sewing the velcro near the zipper (view from the back of the sewing machine).

Zara sewing her velcro.

Now.
You can cut your zipper.
Make sure you close it first!!

We added bias tape to the outside edges to finish off all the seams.
Fold the bag so that you can close the snaps.
Now your bag looks pretty much finished except for the side openings!
If you leave it like this, everything will fall out of the sides of the pockets!
So, while the bag is folded with the snaps done up, pin and then quickly sew a basting stitch about 1/4" from the edge on each side of your bag.
Sorry, there is no photo for that.
Now, you'll add extra wide double folded bias tape.
Look at the bias tape and one side is slightly shorter than the other.
This is the side you'll work with first.
Open up one edge of that short side.
You will pin it to the OUTSIDE of the bag.
There is a reason for this - we are going to sew this seam so that it is hidden and since we were working with white thread, we didn't want to see the white thread on the outside of our bag.
Pin the bias tape to the edge of your bag, matching raw edges.

At each end, fold about 1" to the inside (see photo).
Continue pinning.

Now, sew the bias tape to the bag.
Sew close to the crease and stay to the outside of the crease.

Now, fold the bias tape over to the INSIDE of your bag.
In the photo below, we are pinning on the OUTSIDE of the bag and if you look at the centre part of the photo you can see the pins showing on the red bias tape on the INSIDE of the bag.

What we are doing, is sewing on the OUTSIDE (to hide our thread) AND catching the bias tape on the INSIDE to secure it in place.
Here you can see Julia is sewing what I described above.

And you can see that the other side is pinned.
Now, there is a way to sew it so that you also hide the little bit of white fabric you'll see at each end of your bias tape.
I showed this method to the girls and they chose not to do it.
If you want to do it, please leave a comment and I'll do my best to describe it.
(or maybe I'll have made one of these myself by then and I'll take photos!)
And here Zara is sewing her bias tape.

Here is a photo of Claire adding some snaps with the wooden spool and hammer to give you an idea of how that works.

And now you probably want to see the finished product!!!
 |
| Zara's SWAPs bag |
 |
| Zara's SWAPs bag |
 |
| Julia's SWAPs bag |
 |
| Julia's SWAPs bag |
More bags have been completed by the girls and they all look great! Lots of great ideas to each make their own bag unique.


