Tutorial - SWAPs Bag (Revisited 2023)
I revisited my original SWAPs bag tutorial and decided a rewrite was in order.
Here it is.
This SWAPs bag was made from a vintage Canadian Girl Guide Uniform Blouse as pictured here:
except I used a 3rd pocket flap from another blouse.
Materials needed:
- uniform blouse
- alternate fabric for lining (optional)
- 3 zippers
- thread, scissors and other sewing related items.
To start, cut the following pieces:
(A - Lining) 1 - 20" x 8" from alternate fabric (can also use uniform)
(B - Inside) 1 - 20" x 8" from uniform
(C - Outside Pockets) 1 - 17" x 8" from uniform
(I used 2 pieces 9"x8" and sewed them together for 17"x8")
(Inside Pocket) 1 - 6" x 8" from uniform
(Pocket Tops) 3 - 2" x 8" from uniform
3 pocket flaps from uniform(s) (preferred method is to remove stitching so you'll be re-stitching them the same way)
Instructions:
1. Using piece B - Inside, mark the centre line (as shown by 2 pins in photo below).
2. Position the 3 pocket flaps on one half of B - Inside, as shown above.
Ensure that you leave approximately 1" allowance from the centre pins/markings, and approximately 1.5" allowance from the top/end.
3. Stitch the pocket flaps into place.
I copied how the original flaps had been sewn to the uniform.
In the photo above, I first sewed them flipped up.
Then, in the photo below, I sewed again on the right side.
If that confuses you, just sew them in place as above.
Next, take the Inside Pocket piece and one of the Pocket Tops.
4. Attach the zipper as shown below.
How I attached the zipper: right sides together, edges even, I stitched a seam on each side of the zipper. Then I turned the fabric over and top-stitched both sides of the zipper.
5. Position the completed inside pocket on piece B - Inside as shown below, leaving approximately 1" or more allowance from the centre you marked earlier.
6. Turn under the top of the pocket and the bottom of the pocket. Pin into place.
Below is a close up of the pocket now pinned into place (red pins).
7. Sew pocket into place.
I chose to use a magnet closure for this bag. I did not want the "backside" of the closure showing - I wanted to hide it inside the lining. So I added it now. I applied a small patch of interfaced fabric from the uniform to the wrong side of B - Inside at both ends to reinforce the magnet closure. I made sure the magnet was at least 1/2" to 1" from the edge for a seam allowance.
If you choose to use velcro to close your bag, it can be added at the very end, or you can add it now, similar to this.
Below shows the completed magnet closures.
We are now finished with B - Inside, until we sew it all together.
Next we'll be using C - Outside Pockets, and the remaining 2 Pockets Tops.
You'll see that mine are 2 pieces sewn together (where the 4 pins are since I was too lazy to press the seam open).
8. Attach the 2 zippers at each end as shown below.
(My zippers are long, but they'll work)
Again, when attaching the zippers, with right sides together, edges even, I stitched a seam on each side of each zipper. Then I turned the fabric over and top-stitched both sides of each zipper.
9. Pin A - Lining to the back of C - Outside Pockets. This is the lining for inside the large pockets, so ensure that the "right" side of your fabric is against the "wrong" side of the pockets. This way, when you look inside the pockets, you'll see your lovely fabric. (photo above shows pinning at top and bottom)
Next step:
There are 2 options.
(a) you can use double wide double fold bias tape to finish off the outside perimeter of your bag (if you prefer this, skip to Step 16).
(b) for my bag, I sewed all layers together and turned them right side out, as follows ...
10. With right sides together and using a 1/2" seam allowance, pin B - Inside Pockets to the 2 layers of [C - Outside Pockets and A - Lining] around the perimeter.
11. Be sure to leave an opening to turn it right side out!!
12. Sew around the perimeter, leaving an opening.
13. Turn right side out.
14. Top stitch close to the edge, all the way around, closing the opening.
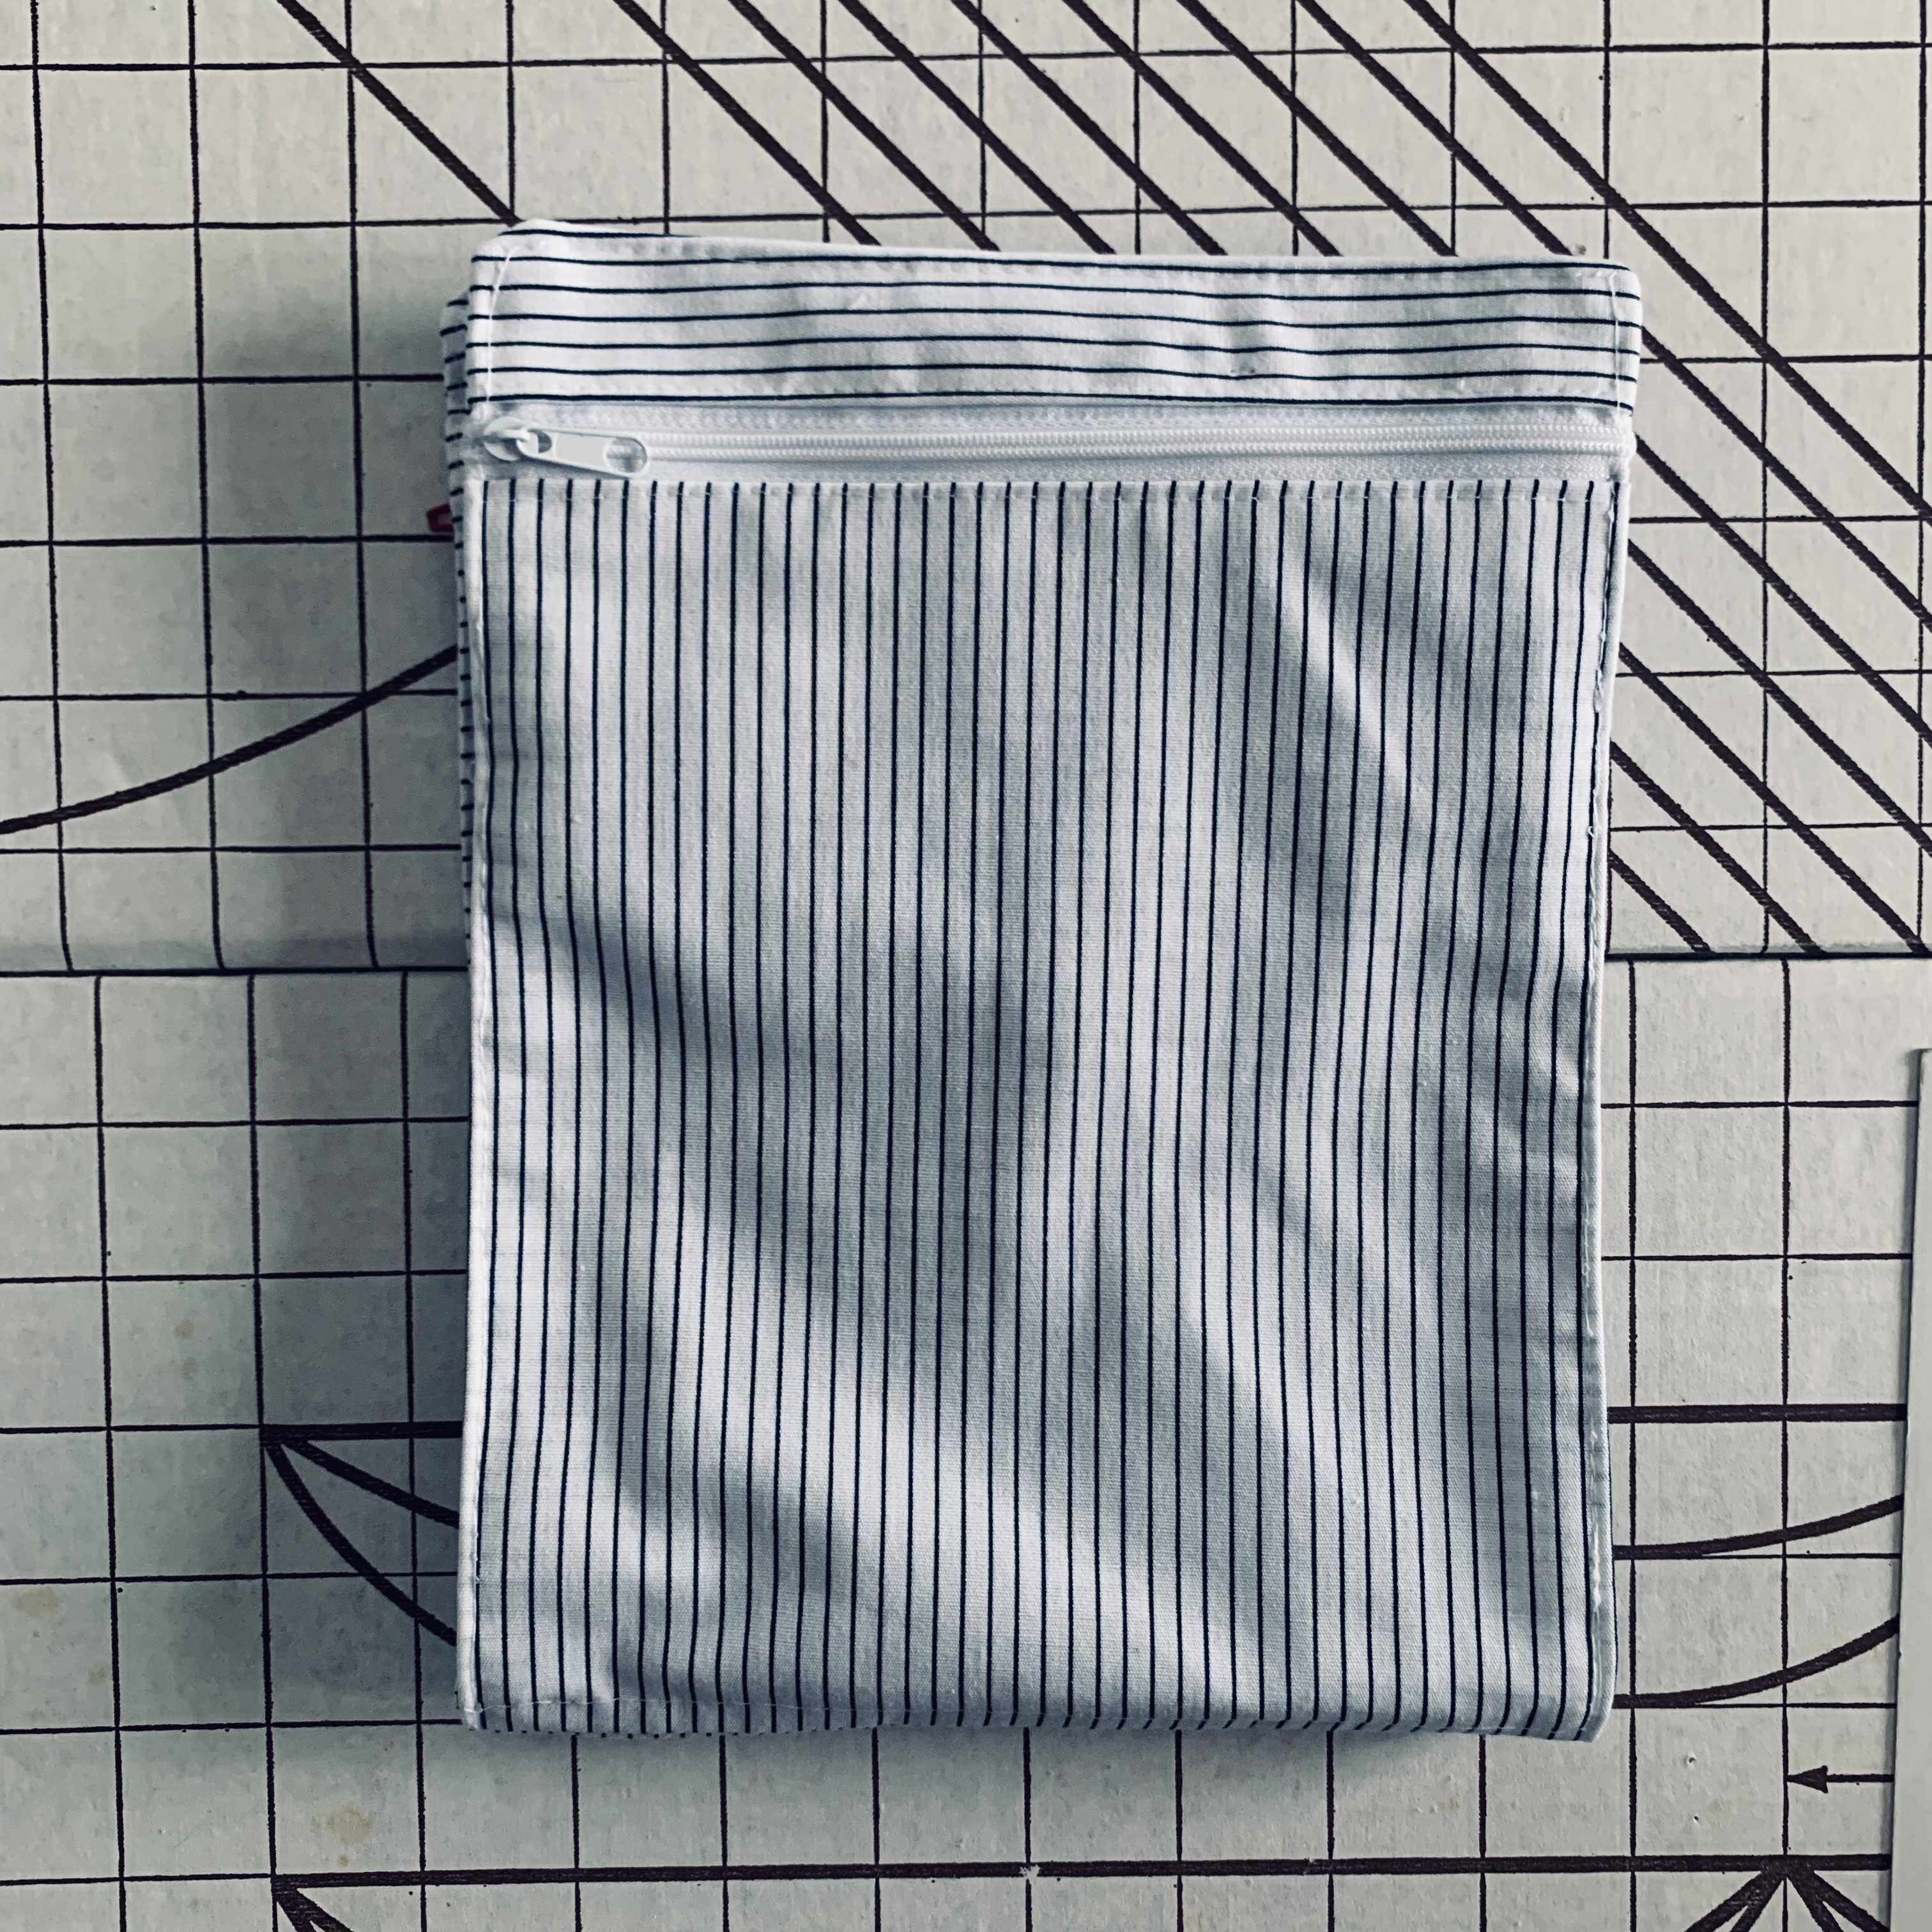
15. Admire your work!!
I use the flaps to showcase pins I have as SWAPs,
and the different pockets for Keepers and Traders.
BIAS TAPE
Step 16. If you chose to use bias tape around the perimeter, pin the bias tape around the bag, raw edges together.
Sew into place.
Now, fold the bias tape over, and topstitch it into place.
If you have ANY suggestions to improve this tutorial, please feel free to leave a comment.
I read them all!
Have fun!!!
p.s. go ahead: ask me why I added that cute little Trefoil badge to the bag I was making!
😁 Did I accidently cut a small hole in the fabric and have to patch it??
Will I even admit it if I did such a silly thing?!?!
😁


No comments:
Post a Comment