Tutorial
Crown Royal Coasters

My nephew sent me some Crown Royal bags and asked me to make coasters.

First I carefully cut the fabric from the bags.

Next I cut a square from card stock as my "pattern".
It is 4.5 inches (11.5cm) square.

I first cut the plain fabric squares for the back of the coaster.

Here are all the plain squares.

I had some white terry cloth fabric (think towels) so I cut those into squares too, to ensure the coaster would be absorbant.
Here are the white squares.

Then I realized that my card stock pattern would not allow me to make sure the words "Crown Royal" were centred in my squares.
I needed something I could see through.
So I found a pink plastic bag and cut a 4.5 inch (11.5cm) square.

Now I could see what I was cutting.

Some of the bags were larger than others. I always got the words centred left to right, but sometimes the words were lower in the square because of the size of the bag.
Here are all the Crown Royal squares.

Now, time to stack for sewing.
The Crown Royal square and the plain square are right sides together.
Add the white square outside the plain square.

When pinning, mark where you will leave an opening.
This is to turn the coaster right side out.
My green pins mark my opening.

I started sewing at the bottom green pin.
My seam was a scant 1/4 inch seam.
And I sewed all the way 'round to the other green pin.

Trim your corners.
Turn right side out.

This is an example of one of the Crown Royal squares where the words are lower than centre.
It is because the bag was smaller than the others.
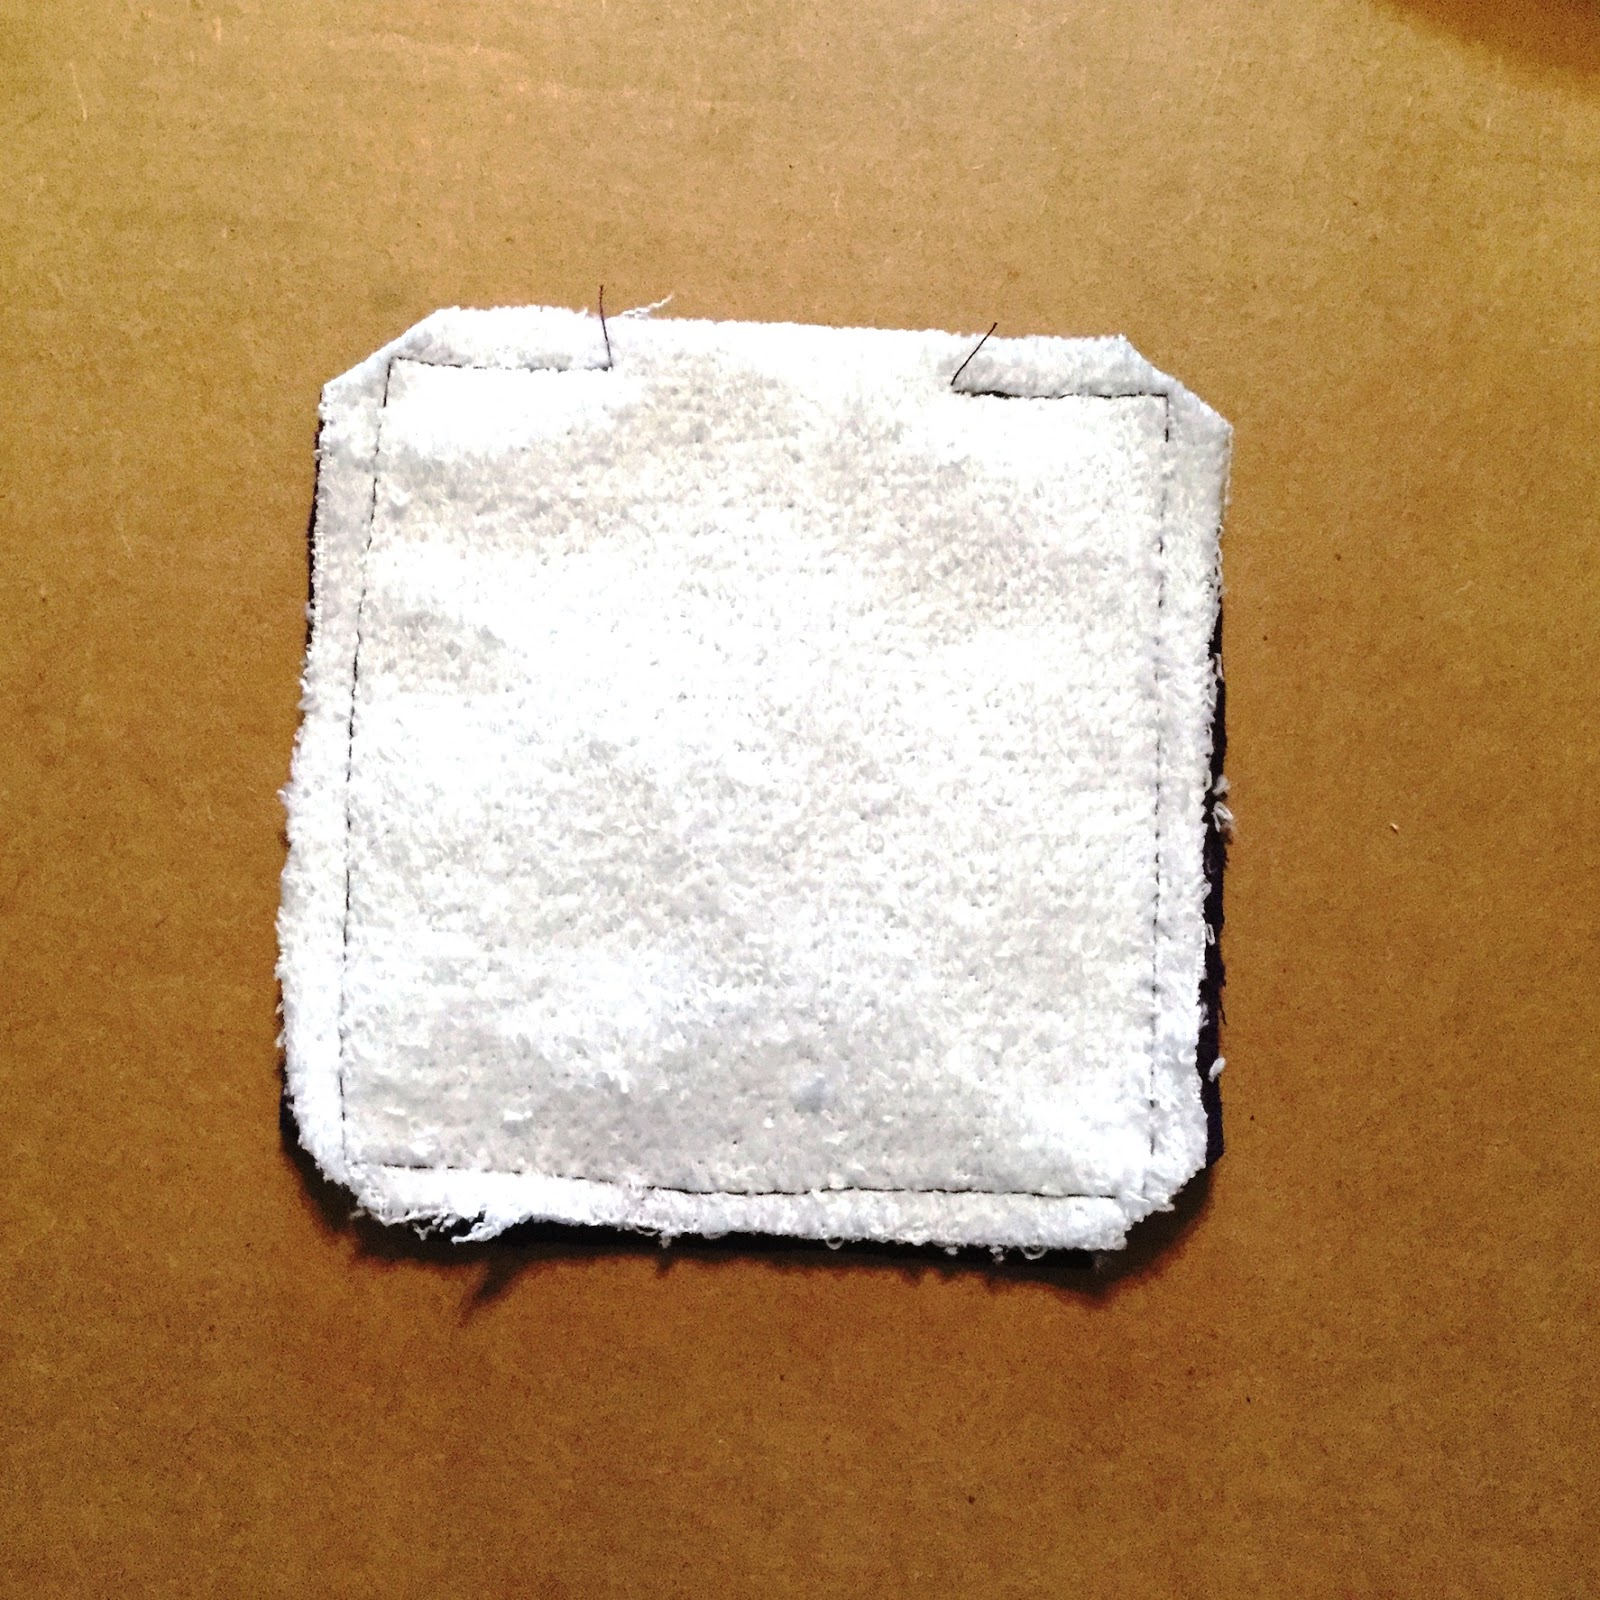
Fold in the edges at the opening.
Pin opening.

Topstitch across the opening and all 'round the coaster.

Ta da!
All done.


I think this is a great idea! I'm going to make them for my son that I'm also making a CR quilt for. The quilt will be made with the purple bags and the coasters will be made with the green. I'm also going to use a heavy card stock for the base (inside the bag) with a piece of plastic sewn under the terry cloth and placed over the card stock (hopefully, to keep the card stock dry).
ReplyDeleteThe quilt sounds amazing! And good ideas on the coasters. ☺
Deletegreat idea.... Ive been collecting the bags and have 216 !! was going to make a blanket but I like the coaster idea !!
ReplyDeletethis is great, love the pictures. i'm going to use this concept to make a "quilt" looking pillow.
ReplyDelete